Showing posts with label C. Show all posts

Sunday, November 11, 2007

C over a Terminal in Gutsy Gibbon

Today I'd like to show you how to write an 'Hello World' application in C language under Ubuntu 7.10 Codename Gutsy Gibbon over a terminal without using an IDE.

If you have the same version of Ubuntu (VMWare Image) as I have then you have the newest version of the GNU C Compiler collection (4.2.1) out of the box and you don't have to lose time for preconfiguration stuff to develope C-applications. The first step is to open a new terminal under Ubuntu.


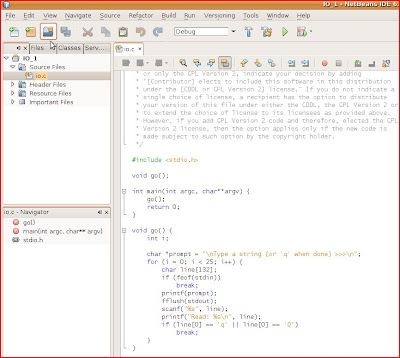
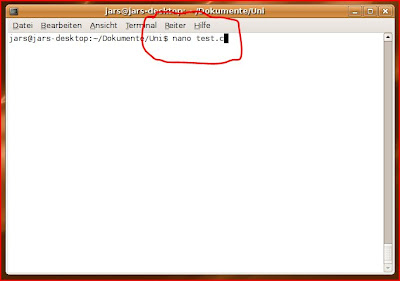
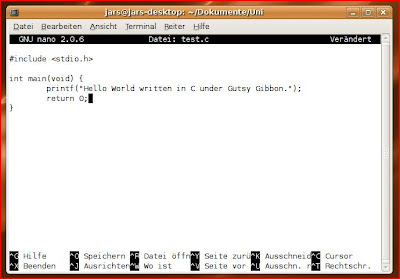
Then you have to create a new C-file with an editor of your choice. I prefer nano, so I typed nano test.c and the editor opens in the terminal with your file.


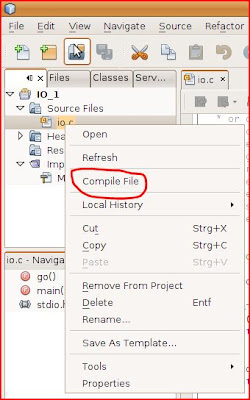
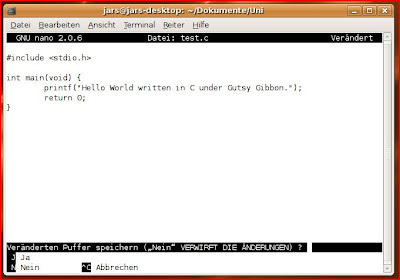
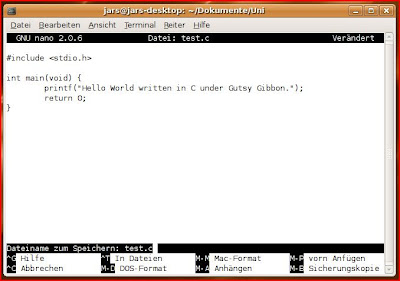
The next step is to write your 'Hello World' C-code and save it by pressing Strg+X (in nano), 'J' and 'Enter'. After those steps nano will save your code to your test.c file and you'll be able to compile it.


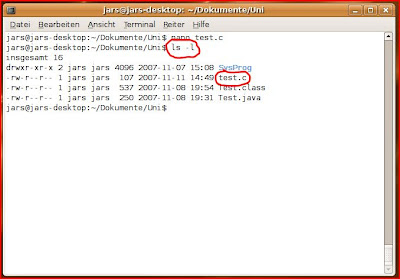
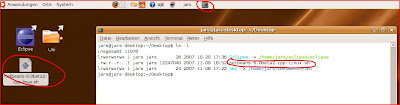
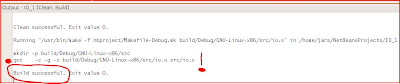
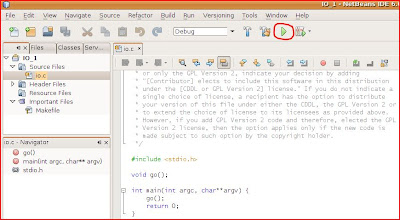
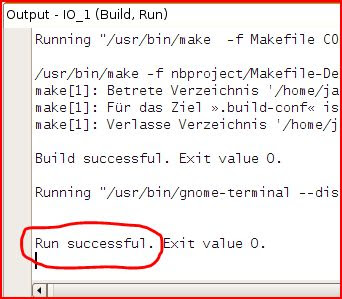
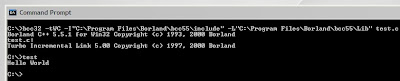
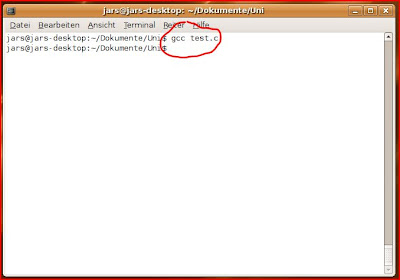
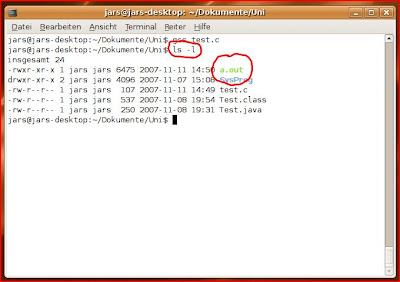
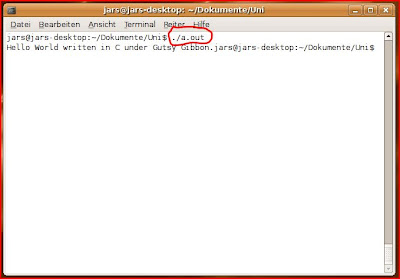
By typing gcc test.c the gcc-compiler will create an executable (if there are no errors in your application) and it's default name will be a.out. You will be able to execute it by typing ./a.out and press 'Enter'. Then you should be able to see your 'Hello World'-output.


Hope you liked this short tutorial about how to write a simple 'Hello World' application in C over a terminal in Ubuntu 7.10.

Cheers

Friday, November 09, 2007

C Coding with NetBeans under Ubuntu 7.10

In this post I'd like to write about how to install NetBeans 6 Beta 2 under Ubuntu 7.10 Codename Gutsy Gibbon and how to use my favourite IDE for c/c++ coding. The first step is to go to the NetBeans Homepage and download the installables.

I've chosen the IDE in combination with the C/C++ Package. As you can see this constellation is very small (11 MB) but remember you won't be able to use it for Java Apps but of course you'll be able to download all plugins for NetBeans after you have installed the IDE.


Save the packages to your desktop and open a terminal in Ubuntu. Change to your Desktop directory and then you should be able to see something like the following picture. Then type the command (which you can find in my terminal in the third picture) in your terminal and press Enter. Command: sudo sh netbeans-package.sh


After calling this command in your terminal, a installation-wizard should pop-up and you just have to click yourself through this wizard. As you can see, it is very simple to install the IDE in Ubuntu.


If the wizard has finished you have to execute a shell-file in the installation's bin-directory. After double-clicking this file a new pop-up will be shown. Here you just have to click on 'Ausführen' (Execute) and the IDE finally should start.


Now you'll be able to create an sample c-application which you'll find under File/New Project/Samples/C/C++/C/C++/IO. After creating this application you'll see the project-structure in your NetBeans-Projects-Tab and if you open your Source Files oi.c file you can see the c-code with Syntax Highlighting.


Now you can compile the file by right clicking it and chose Compile File to compile it. If there are no errors (and ther should be no errors) you should see something like Build Successful in you Output-Window. Then try to run the application by clicking the green Play-Button which you can find on the toolbar of your IDE.

This will execute the Main-Project (your c-project) and a terminal window should pop-up where you should be able to type something. After clicking Enter your input will be printed out to the same terminal and if you want to quit the application just type a q and presse enter.


I hope you liked this tutorial and of course you can find more information on how to install the NetBeans-IDE in Ubuntu on the Netbeans-Wiki. This article will also describe the requirements which I didn't mention in my post e.g. you have to check if you have a working java version installed on your Ubuntu-System and so on.

Have nice weekend
Cheers

Friday, March 30, 2007

Gettin' started with C

So far the following description will describe a very fast way how to compile a c-application under windows. You just have to install the Borland C Compiler which you can find under the following link: Borland C Compiler By the way you will find a detailed german description under next link: German Description

After the registration at Borland you will be redirected to the download-page. Just get the the compiler-package and install it. Add the path of the install-directory to your env-vars and type 'bcc32' to the command line.

You then should be able to see the tool's version and the command line options. Write a simple c-application and then type the following to compile your application:

From C Programming

After your programm compiled successfully you should see some output like this:

From C Programming

Hopefully this helps you to get started with C.
Cheers