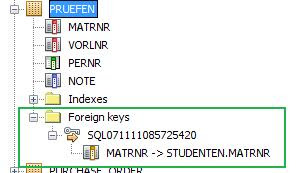
Yesterday, I showed you how to create foreign keys in Derby DB within NetBeans 6 Beta 2 database tools. After I thought I had finished this tutorial I noticed a little mistake in my 'PRUEFEN' table of my database.
The primary key or better the foreign key 'PERNR' had the wrong name. The right name should have been 'PERSNR' which is a reference to the primary key 'PERSNR' of my 'PROFESSOREN' table. So, how can I refactore this little (I thought it was little but it wasn't) mistake.
The first step I have done was to search for a solution in the Derby documentation and it's SQL implementation and feature support. Today I've finally realised that something like 'ALTER TABLE RENAME COLUMN OLDNAME TO NEWNAME' isn't supported by Derby so I tried to figure out an alternative way to find a solution for my problem. Here's what I did:
I've created a backup of my table and with this backup I'm able to recreate my table again. The idea was to delete the old 'PRUEFEN' table and create a new one by recreating the old table.
I've created a backup of my table and with this backup I'm able to recreate my table again. The idea was to delete the old 'PRUEFEN' table and create a new one by recreating the old table.
This will open a dialog with a SQL command which will set up my new table (=> simple CREATE TABLE statement). So, the advantage of this workaround is, I just have to rename my column in the SQL-statement and I would have found a solution for my problem... BUT... (keep on reading ;o)
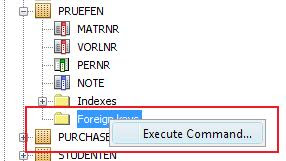
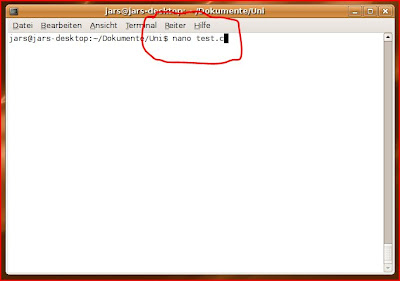
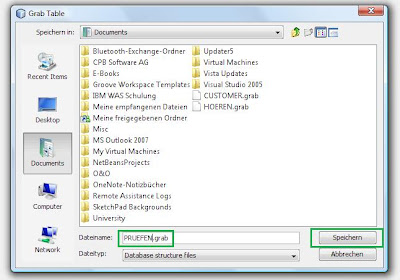
First of all you'll be able to backup your table by right clicking it and execute the 'Grab Structure...' command. A save-dialog will pop up and there you can choose a place to save your table structure.

No you will be able to grab this structure of your old table and recreate a new one by right clicking the Table folder und select the 'Recreate Table...' button. Of course you have to rename your table if you haven't deleted the old 'PRUEFEN' table to something like 'PRUFENNEW'.

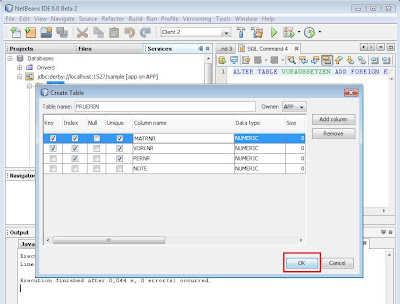
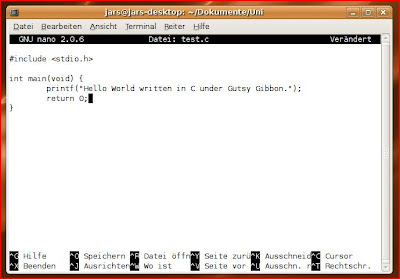
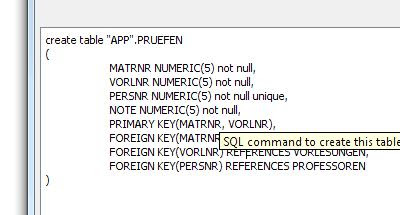
This will open up a new diaolog with the CREATE TABLE statement. Now by clicking the 'Edit table script' button you will be able to change your column name. If you have already forgotten... that's why I've started to write this tutorial ;-)


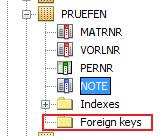
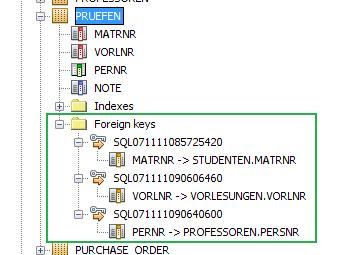
Have you recognized the table script in the above picture? Where have all the foreign keys gone? Hmmmmmm.... So now I have the same work as yesterday. Hopefully in the final release this problem will be solved. I changed my table script so all my requirements are implemented and that is what it looks like:

Finished! No.... I've forgotton the PERSNR foreign key. Damn it! But I have to do the whole work again anyway because I don't want to have the '...NEW' in my table's name. Ahhhh ;o)
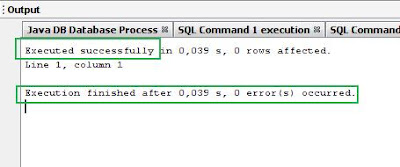
Finally: My Script and my Table view

First of all you'll be able to backup your table by right clicking it and execute the 'Grab Structure...' command. A save-dialog will pop up and there you can choose a place to save your table structure.
No you will be able to grab this structure of your old table and recreate a new one by right clicking the Table folder und select the 'Recreate Table...' button. Of course you have to rename your table if you haven't deleted the old 'PRUEFEN' table to something like 'PRUFENNEW'.
This will open up a new diaolog with the CREATE TABLE statement. Now by clicking the 'Edit table script' button you will be able to change your column name. If you have already forgotten... that's why I've started to write this tutorial ;-)
Have you recognized the table script in the above picture? Where have all the foreign keys gone? Hmmmmmm.... So now I have the same work as yesterday. Hopefully in the final release this problem will be solved. I changed my table script so all my requirements are implemented and that is what it looks like:
Finished! No.... I've forgotton the PERSNR foreign key. Damn it! But I have to do the whole work again anyway because I don't want to have the '...NEW' in my table's name. Ahhhh ;o)
Finally: My Script and my Table view
So, what do you think...? I think that's not a quite easy and effective workaround. Hopefully we will see some improvements in the final release of NetBeans 6.
Cheers