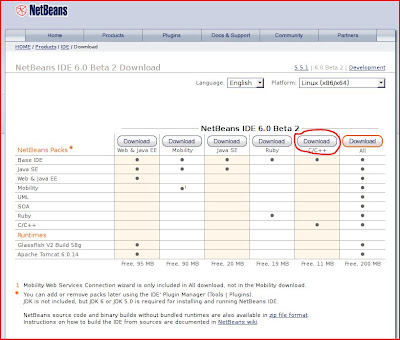
In this post I'd like to write about how to install NetBeans 6 Beta 2 under Ubuntu 7.10 Codename Gutsy Gibbon and how to use my favourite IDE for c/c++ coding. The first step is to go to the NetBeans Homepage and download the installables.
I've chosen the IDE in combination with the C/C++ Package. As you can see this constellation is very small (11 MB) but remember you won't be able to use it for Java Apps but of course you'll be able to download all plugins for NetBeans after you have installed the IDE.
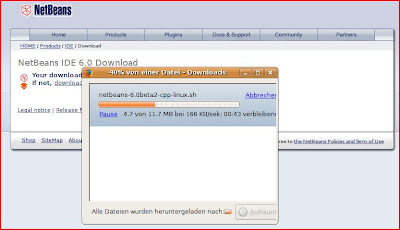
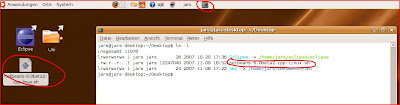
Save the packages to your desktop and open a terminal in Ubuntu. Change to your Desktop directory and then you should be able to see something like the following picture. Then type the command (which you can find in my terminal in the third picture) in your terminal and press Enter. Command: sudo sh netbeans-package.sh

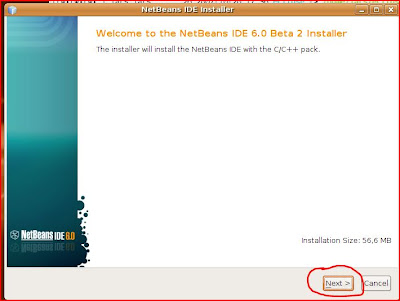
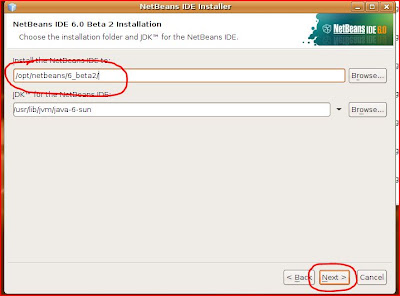
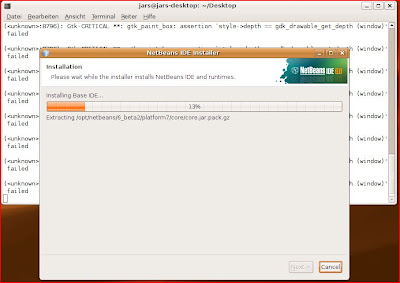
After calling this command in your terminal, a installation-wizard should pop-up and you just have to click yourself through this wizard. As you can see, it is very simple to install the IDE in Ubuntu.
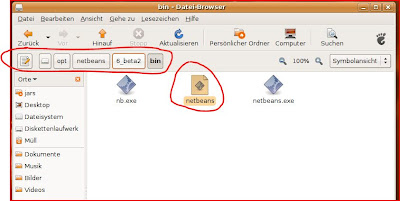
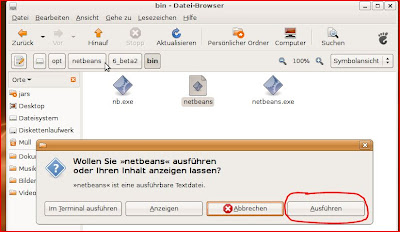
If the wizard has finished you have to execute a shell-file in the installation's bin-directory. After double-clicking this file a new pop-up will be shown. Here you just have to click on 'Ausführen' (Execute) and the IDE finally should start.
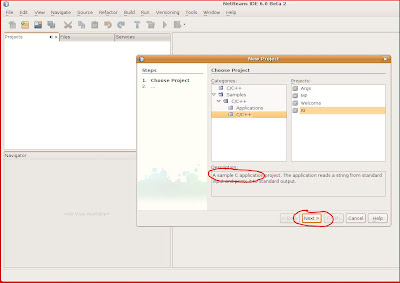
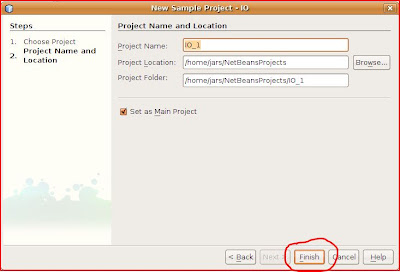
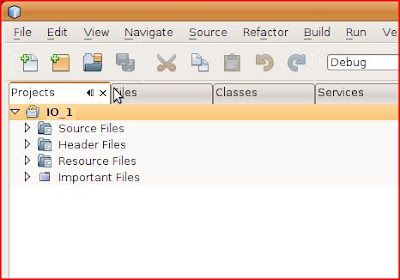
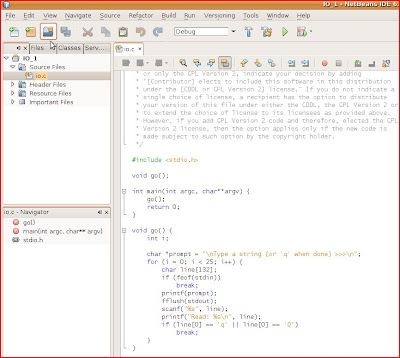
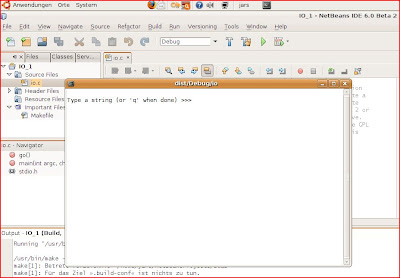
Now you'll be able to create an sample c-application which you'll find under File/New Project/Samples/C/C++/C/C++/IO. After creating this application you'll see the project-structure in your NetBeans-Projects-Tab and if you open your Source Files oi.c file you can see the c-code with Syntax Highlighting.
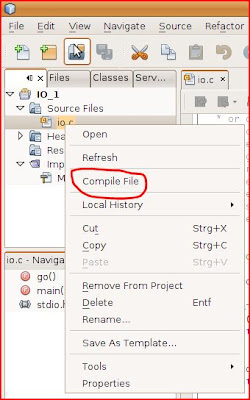
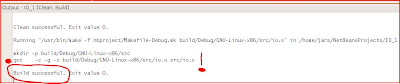
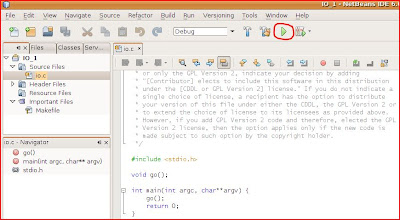
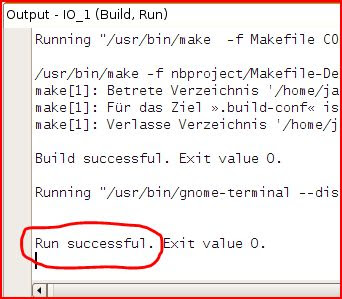
Now you can compile the file by right clicking it and chose Compile File to compile it. If there are no errors (and ther should be no errors) you should see something like Build Successful in you Output-Window. Then try to run the application by clicking the green Play-Button which you can find on the toolbar of your IDE.
This will execute the Main-Project (your c-project) and a terminal window should pop-up where you should be able to type something. After clicking Enter your input will be printed out to the same terminal and if you want to quit the application just type a q and presse enter.

I hope you liked this tutorial and of course you can find more information on how to install the NetBeans-IDE in Ubuntu on the Netbeans-Wiki. This article will also describe the requirements which I didn't mention in my post e.g. you have to check if you have a working java version installed on your Ubuntu-System and so on.
Have nice weekend
Cheers
6 comments:
Thanks a lot!! finally I found something that works with no bugs and with no old-expired packages
Amiable post and this fill someone in on helped me alot in my college assignement. Gratefulness you for your information.
Opulently I assent to but I think the post should have more info then it has.
[... ] is other great source of tips on this issue[...]
http://healthinsurance.cheap-quotes.info/
Hello Guys
Do not miss your chance to get a free ipad. Visit http://bit.ly/d9QOON
Nice fill someone in on and this post helped me alot in my college assignement. Say thank you you seeking your information.
Post a Comment